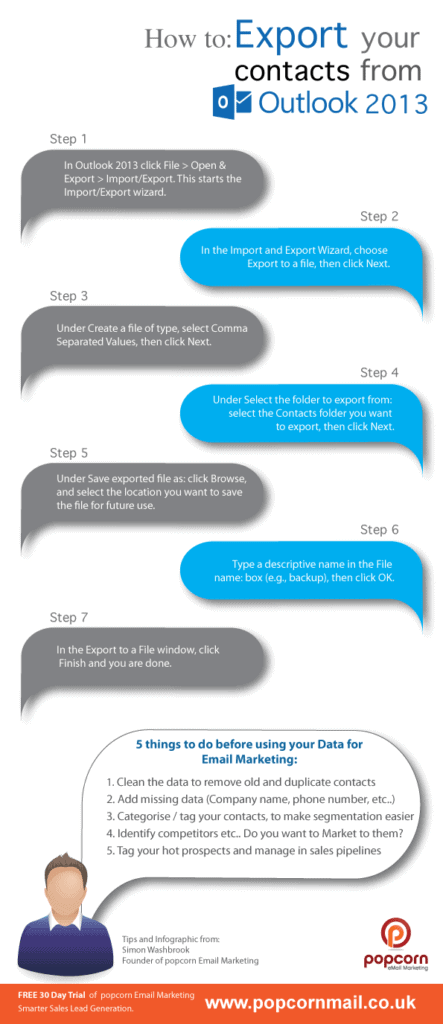
This infographic shows you how you can use Outlook Import and Export Wizard for exporting contacts from MS Outlook 2013. This process will allow you to export contacts as a CSV file that can be opened and manipulated in Microsoft Excel. If there is no manipulation needed, the CSV file can be imported into popcorn right away!

How to:
Exporting Contacts From MS Outlook 2013
Step 1
In Outlook 2013 click File > Open & Export > Import/Export. This starts the Import/Export wizard.
Step 2
In the Import and Export Wizard, choose Export to a File, then click Next.
Step 3
Under Create a File of Type, select Comma Separated Values, then click Next.
Step 4
Under Select the folder to export from: select the Contacts folder you want to export, then click Next.
Step 5
Under Save exported file as: click Browse, and select the location you want to save the file for future use.
Step 6
Type a descriptive name in the File Name: box (e.g., backup), then click OK.
Step 7
In the Export to a File window, click Finish – and you’re done!
5 Things to Do Before Exporting Contacts From MS Outlook 2013:
- Clean the data to remove old and duplicate contacts
- Add missing data (Company name, phone number, etc..)
- Categorise / tag your contacts, to make segmentation easier
- Identify competitors etc.. Do you want to market to them?
- Tag your hot prospects and manage in sales pipelines
Enjoyed this article? Comment below or read through our blog for more sales and marketing insights.


